The floor is the heart of your home. It’s where you entertain and relax, so it should be clean, durable, and beautiful. Whether you’re thinking of giving your old and worn-out floors a new look or simply refreshing them to make them look better, we’ve got some helpful tips for how to start your floor sanding Geelong project.
1. Know your floor and its condition
Before you start, you need to know what kind of floor you have and how it’s been cared for. The condition of a floor can make all the difference in how well a finish will hold up over time. If there are cracks or splits in the wood, they should be repaired before applying any stain or paint (or sanding).
Cracks may not show up until after staining or painting because these products fill in gaps that might have appeared when the wood was freshly cut; this means that any hidden damage will now be exposed by applying these finishes. If your floors are soft enough that they dent when walked on with bare feet, they probably won’t hold up well under repeated wear from shoes — so consider using polyurethane instead of oil-based varnish if this is an issue for you!
2. Learn about the types of floors
The next step is to learn about the different types of floors. This will help you choose the right flooring for your home, as well as make sure that your project goes smoothly.
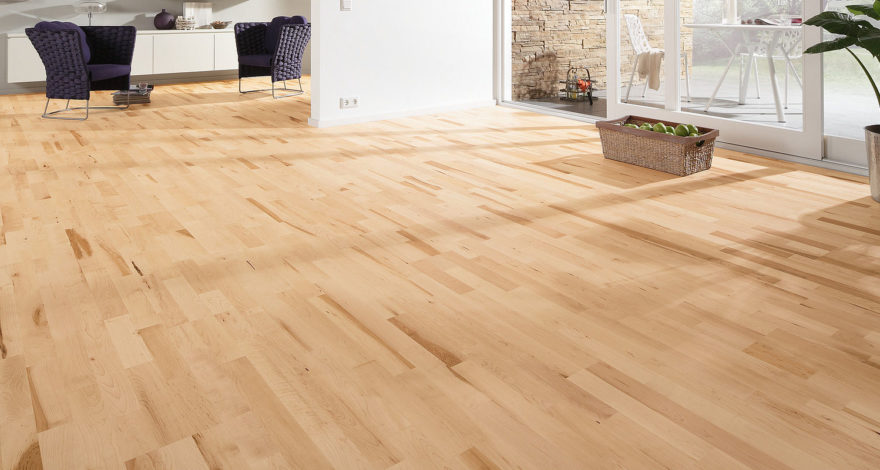
- Hardwood: Hardwood floors are made from the wood of deciduous trees (trees that lose their leaves in autumn). They’re durable, easy-to-clean and have a warm appearance. However, they cost more than laminate or vinyl options because they must be installed by skilled craftsmen who can match boards perfectly; if any joints show up between planks of different colors or widths then it will affect how attractive your room looks overall!
- Laminate: Laminate is made from manmade materials such as plastic with an imitation veneer covering over top to give it more depth than other options like vinyl would have available without making too much noise underfoot when walking around barefoot inside our homes during summertime.
3. Choose your equipment and tools
Now that you know what to look for in a floor sander, it’s time to get down to business. Before starting your project, make sure you have the proper tools and equipment. Here are some things that will help:
- A vacuum. This is an essential piece of equipment for any type of sanding job because it can suck up any dust or debris that gets kicked up in the process. Make sure it has an HEPA filter so it won’t release dust back into the air when turned off or unplugged from its power source!
- Dust mask/respirator (optional). While not required by law in most states in America, using one while working with any kind of wood dusts can greatly reduce eye irritation and help protect against respiratory illnesses such as asthma attacks or bronchitis later on down the road if exposed regularly enough over time periods longer than 15 minutes at once without taking breaks between each session where no work has been done yet again before reentering into another room full-time again after finishing up whatever tasks were needed done first before going back downstairs again later on down this same day tomorrow morning once again without fail without fail without fail without fail…

4. Consider the best plan of action
As you begin to plan your floor sanding project, you need to consider the best plan of action. The size of the room is an important factor when choosing which tool will work best for you. If you have a large room, such as an entire house or apartment building, then it’s probably best that you rent or buy an industrial sander instead of using hand tools because they are more powerful and faster than manual sanders.
If your project involves refinishing hardwood floors then we recommend using either hand planes or belt Sanders depending on their condition before starting this process so that they look even better once finished!
5. Prepare for dust and debris
When you’re sanding the floor, you’ll want to wear safety gear. This includes:
- Safety goggles. Sanding can be a messy process, so it’s important that your eyes are protected from dust and debris.
- Earplugs or headphones with music turned up loud enough to block out the sound of your sander as well as other loud noises in your home (like running water or barking dogs).
- A respirator mask that covers both mouth and nose, which will help prevent inhalation of particles from sawdust or mold spores that may be present in older homes with damp basements like yours! You might also consider wearing an additional face mask over this one if there are especially large amounts of dust present in your basement area where most of this work will take place; just make sure both types fit snugly around any facial hair so they don’t come loose while working on projects together later today 🙂
We hope that this article has helped you understand the basics of floor sanding Geelong, and given you some ideas for how to get started with your own project. Remember: don’t be afraid!
It may seem daunting at first, but once you get into the swing of things it will become second nature. And who knows? Maybe after reading all these tips we’ve given here today, maybe now even YOU could be considered an expert on all things floors! so call Total Floor Sanding And Polishing now. We offer wide range of floor sanding services to suit your needs and budget.

