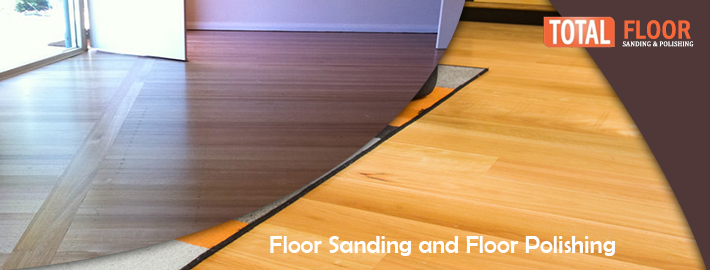
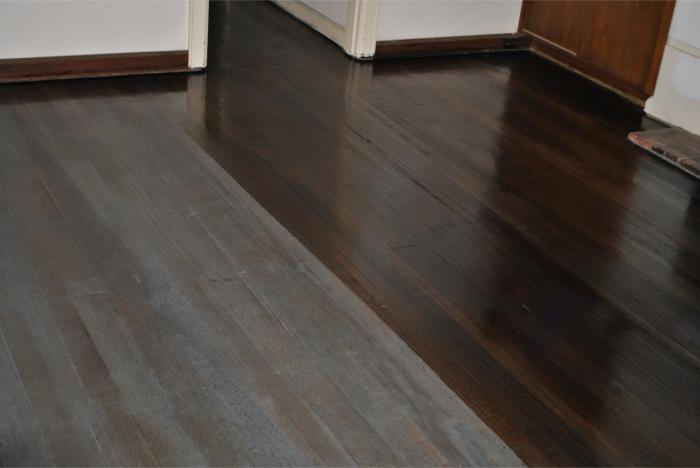
When it comes to home designs and improvements, timber floors bring a special kind of beauty and timelessness. They’re not just what you walk on; they’re like a blank canvas waiting to become a work of art.
Imagine your home with shiny, beautiful timber floors that make every step feel natural and lovely. Whether you’re a homeowner wanting to refresh your space or a DIY enthusiast looking for tips, our blog is your go-to source for all things related to fixing up timber floors.
We’ll explain the steps, from getting rid of flaws through sanding to making them shine during the polishing stage. Come along as we explore the ins and outs of sanding and polishing timber floors – because your floors deserve nothing less than perfection.
Understanding Timber Floors
Before we dive into the nitty-gritty of the floor sanding Melbourne process, let’s talk about timber floors and the importance of refinishing them.
Timber floors are made from solid wood planks or engineered wood boards. Solid timber floors are constructed entirely from natural wood, while engineered wood floors consist of a thin layer of real wood veneer bonded to a plywood or composite board. Timber floors are cherished for their natural beauty, warmth, and ability to add character to any space.
With various timber species available, including oak, pine, and mahogany, homeowners can choose the flooring that best suits their style and preferences. Unlike other flooring options, timber floors have the unique ability to age gracefully, developing a rich patina over time.
Importance of Floor Sanding and Polishing
Sanding and polishing timber floors are essential for maintaining their beauty and longevity. Over time, timber floors can develop imperfections, scratches, and stains due to regular foot traffic, furniture movement, or accidental spills. Sanding is a process that involves removing the top layer of the timber floor, along with any imperfections, to reveal a fresh and smooth surface.
By sanding the floor, you can eliminate scratches, dents, and uneven areas, preparing it for a flawless finish. Polishing, on the other hand, enhances the appearance and durability of the timber floor by providing a protective coating that seals the wood and adds a lustrous shine.
Preparing for Sanding and Polishing
Before you start working on your floors for a refinish, it’s crucial to prepare them. This way, you can ensure a hassle-free process and exceptional results.
To ensure a smooth and stress-free process, it is advisable to remove all furniture, rugs, and other items from the room. This will provide ample space to work and prevent any accidental damage. Additionally, covering nearby areas with drop cloths or plastic sheets will protect them from dust or potential damage caused by the sanding and polishing equipment.
Before sanding your timber floor, take the time to inspect it for any damages or loose boards. Addressing these issues beforehand will prevent further damage during the sanding process. Tighten or replace any loose boards, and consider repairing any deep scratches or gouges.
By starting with a solid foundation, you can achieve better results and prolong the life of your timber floor.
Sanding Timber Floors
After the floor preparation, here comes the part of floor sanding. To sand your timber floor successfully, you will need several essential tools. These include a drum sander, an edger for sanding the edges and corners, a buffer for fine sanding, a shop vacuum for dust extraction, and safety equipment such as goggles, a mask, and gloves.
Here’s a comprehensive guide to achieving flawless results in sanding:
Step-by-Step Timber Floor Sanding Process:
- Begin by sanding the floor with a coarse-grit sandpaper, working in the direction of the wood grain. This will remove any existing finish, imperfections, or deep scratches.
- Progressively move to finer grit sandpapers, gradually smoothing the surface of the floor. This step will refine the surface and prepare it for the polishing stage.
- Pay close attention to sanding the edges and corners using the edger. Be careful not to apply too much pressure or linger in one spot for too long, as this can result in uneven sanding.
- Throughout the sanding process, keep the room well-ventilated and use the shop vacuum to regularly remove dust and debris. This will ensure a cleaner and more efficient sanding experience.
- Lastly, inspect the floor for any missed spots or imperfections, and resand those areas if necessary. Once you are satisfied with the smoothness of the floor, it is time to move on to the polishing stage.
Polishing Timber Floors
Once your floors are sanded, then consider giving them a new look and charm with floor polishing. For desired results, you need to choose the appropriate polish for your timber floor.
There are various types of floor finishes available, including polyurethane, water-based, and oil-based finishes. Each type has its own characteristics and benefits. So, choose the right wooden floor finish by studying each type.
After selecting the ideal finish, follow the below-mentioned steps to polish the floors effectively:
Step-by-Step Timber Floor Polishing Process:
- Before applying the polish, ensure the floor is clean and free of any dust or debris from the sanding process. Vacuum and wipe the surface with a damp cloth to remove any remaining particles.
- Follow the manufacturer’s instructions regarding the application of the polish. Apply the first coat evenly using a brush or roller, working in the direction of the wood grain. Allow sufficient drying time before applying subsequent coats.
- Between coats, lightly sand the floor with fine-grit sandpaper to smooth out any imperfections and promote better adhesion of the subsequent coats.
- Once the desired number of coats has been applied, allow the polish to cure according to the manufacturer’s recommendations. This will ensure a durable and long-lasting finish.
- Maintain the beauty of your polished timber floor by regularly cleaning it with a soft broom or vacuum cleaner. Avoid using harsh chemicals or abrasive cleaners that can damage the polish. Periodically, you may need to reapply a fresh coat of polish to rejuvenate its appearance and extend its lifespan.
Aftercare and Maintenance
Once you are done with the floor sanding and polishing Melbourne process, it is essential to keep your newly sanded and polished timber floors in pristine condition. Follow these tips for aftercare and maintenance:
– Place doormats at entryways to prevent dirt and debris from being tracked onto the floor.
– Use furniture pads or coasters to protect the floor from scratches caused by furniture movement.
– Avoid wearing high heels or shoes with heavy treads that can damage the surface of the floor.
– Clean up spills immediately to prevent staining or warping of the wood.
– Regularly dust and sweep the floor to remove dirt and grit that can act as abrasives.
– Periodically, inspect the floor for any signs of wear or damage. Address minor issues promptly to prevent them from becoming major problems.
Conclusion
Floor sanding and polishing is not just a maintenance task; it’s a transformative journey that can breathe new life into your living space. As we’ve explored here, every step in the process contributes to the creation of a stunning and enduring floor.
Timber floor sanding and polishing isn’t just about aesthetics; it’s about preserving the natural beauty of wood, enhancing its durability, and adding value to your home. It’s a craft that requires skill and expertise, and the results are nothing short of spectacular.
So, whether you’re rejuvenating an old floor, adding the final touch to a new construction, or simply looking to elevate your home’s ambience, timber floor sanding and polishing is a worthwhile investment.
And if you want to get the most out of this investment, consider hiring floor sanding and polishing Melbourne professionals. Total Floor Sanding And Polishing can be your perfect partner in this floor refinishing journey. We utilise advanced tools and methods to help you ensure a sparkling shine on your floors. So, reach out to us and see how we can transform your home ambience!


