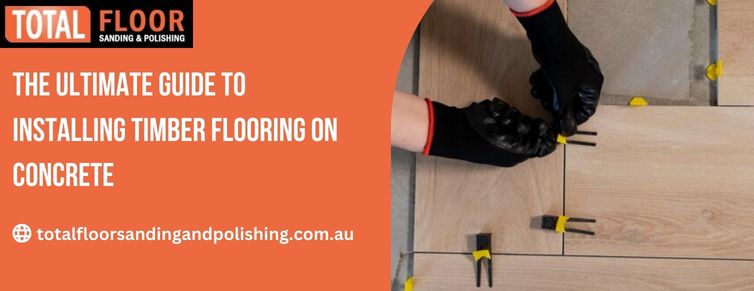
Are you ready to transform your concrete surface into a beautiful timber flooring?
We are here to help you achieve that dream with our ultimate guide to installing timber flooring on concrete. So, let’s dive in and discover the wonders of timber flooring!
Timber flooring is an excellent choice for those looking to enhance the aesthetics of their space. Not only does it add a touch of natural beauty, but it also offers durability and eco-friendliness.
With its timeless appeal and versatility, timber floor installation Melbourne has become increasingly popular among homeowners and businesses.
Know the Basics
Before we delve into the installation process, let’s start by understanding the basics of timber flooring. Timber flooring uses wooden planks or boards to create a solid floor surface.
Its popularity stems from the fact that it is not only visually appealing but also incredibly durable, making it an excellent long-term investment.
Installing timber flooring on concrete surfaces, however, presents its own set of challenges. Moisture issues and unevenness can pose significant obstacles if not appropriately addressed.
Proper preparation is crucial to ensure a successful and long-lasting timber floor installation Melbourne.
Preparing the Concrete Surface
To create a solid foundation for your timber flooring, it is essential to prepare the concrete surface thoroughly. Here’s what you need to do:
1. Clean the Surface: Start by cleaning the concrete surface thoroughly. Remove any dust, debris, or existing flooring adhesive. A clean surface will ensure proper adhesion between the concrete and timber flooring.
2. Assess Moisture Levels: Moisture can cause significant damage to timber flooring, so it’s essential to assess the moisture levels in your concrete. Use a moisture meter to measure the moisture content. If the levels are too high, you might need to address the issue before installing.
3. Address Excessive Moisture: If the moisture levels in your concrete are above the acceptable range, you will need to take steps to address the issue. Applying a moisture barrier or using a vapour retarder can help prevent moisture from seeping into the timber flooring and causing damage.
Acclimating the Timber Flooring
Before you start installing the timber flooring, it’s crucial to allow the planks to acclimate to the temperature and humidity of the installation area.
This process ensures the timber adjusts to its new environment, reducing the risk of warping or buckling later.
Here’s what you need to know:
1. Timeframe: The acclimation period varies depending on the type and thickness of the timber flooring. Typically, it takes around 48 to 72 hours for the planks to acclimate properly.
2. Storage Conditions: During the acclimation period, the timber flooring should be stored in the installation area. Keep the planks neatly stacked, allowing air circulation around them. Avoid exposing them to extreme temperature or humidity fluctuations.
Installation Techniques
Now comes the exciting part – installing the timber flooring on your concrete surface! There are two primary installation techniques: glue-down or floating systems.
The method you choose will depend on the type of timber flooring you have selected.
Let’s explore both options:
1. Glue-Down Installation
This technique involves applying adhesive directly to the concrete surface and placing the timber planks on top.
Here’s a step-by-step guide to help you through the process:
a. Prepare the Adhesive: Use a trowel to spread the glue evenly on the concrete surface, working in small sections.
b. Lay the Planks: Carefully place each timber plank onto the adhesive, ensuring a tight fit. Use a rubber mallet to gently tap the planks into place and provide a secure bond.
c. Allow the Adhesive to Cure: This will ensure a strong and long-lasting bond between the timber flooring and the concrete surface.
2. Floating System Installation
This technique involves securing the timber planks together without directly attaching them to the concrete surface.
Instead, the planks are connected using a tongue-and-groove system.
Follow these steps for a successful floating system installation:
a. Lay Underlayment: Start by laying a suitable underlayment over the concrete surface. This helps to reduce noise, provide insulation, and create a barrier against moisture.
b. Install the Planks: Begin installing the timber planks by connecting them using the tongue-and-groove system. Use a tapping block and a mallet to ensure a snug fit between the planks.
c. Leave Expansion Gaps: Remember to leave expansion gaps around the room’s perimeter to allow for natural movement of the timber flooring.
These gaps can be covered with baseboards or quarter-round moldings for a finished look.
Finishing Touches
To protect your newly installed timber flooring and enhance its appearance, applying a suitable finish or sealant is essential.
The finish acts as a protective layer, guarding against wear and tear while adding a touch of luster to the wood.
Here’s what you need to consider
1. Choose the Right Finish: There are various finish options available, ranging from matte to glossy.
Consider the desired look and maintenance requirements before making a decision. Matte finishes provide a more natural appearance, while polished finishes offer a higher level of shine.
2. Apply the Finish: Use a clean applicator to ensure an even and smooth application. Allow the finish to dry completely before walking on the timber flooring.
Wrapping Up
Following the steps and techniques outlined in this guide, you are well on your way to creating stunning and long-lasting timber flooring.
Remember, proper preparation is critical to a successful timber floor installation Melbourne, so take the time to assess moisture levels and acclimate the timber planks. Total Floor Sanding and Polishing uses premium quality materials and finishes to ensure that your floors not only look fantastic but also withstand the test of time.


