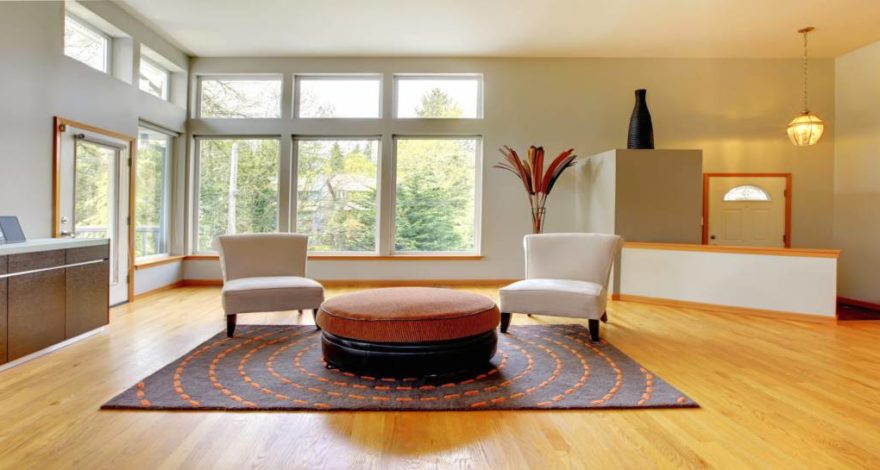
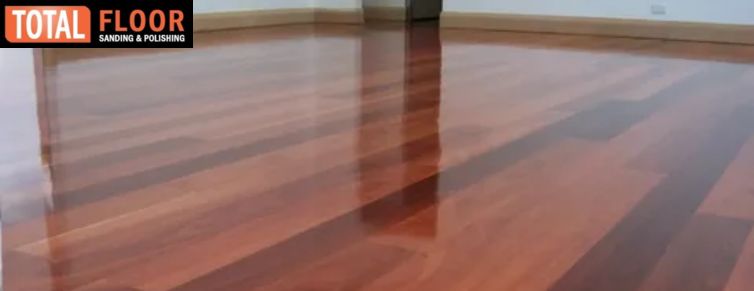
Floor sanding and polishing has become a crucial part of floor maintenance. It restores the floor shine and ensures unparalleled longevity.
But when you opt for residential floor sanding Melbourne, you have to wait sometime to let the floors dry. So, you are just staring at them and waiting for complete drying, so you can walk on them again or put the furniture back. We get it – that anticipation is real.
You want to show off those shiny floors to your friends or just use the room again without worrying about messing up your hard work. But how long should you really wait before the floor polish is good to go? That’s what we’ll break down for you here.
From the different types of floor finishes to tips on speeding up drying time, we’ll give you the inside scoop on exactly how long you need to wait before putting those floors back into action.
Understanding Floor Polish and the Drying Process
The time it takes for floor polish to dry depends on several factors, including the type of polish, number of coats applied, temperature, and humidity. In general, most polishes will be dry to the touch within 30 minutes to 2 hours, but may take 24-48 hours to fully cure and harden.
Polyurethane polish, a popular choice for wood floors, typically dries faster than wax-based polishes. After applying 2-3 coats of polyurethane as directed, the floor should be walkable in 3-6 hours, but avoid sliding furniture or mopping for at least 24-48 hours. The drying time can vary depending on the product, so always follow the directions on the specific polish you are using.
For the quickest drying, choose a water-based polyurethane or acrylic polish and apply thin, even coats. More coats mean longer drying times, so only apply as many as necessary to get your desired sheen. Also, warmer temperatures and lower humidity will speed up drying. Run fans to keep air circulating, and consider using a dehumidifier.
Avoid walking on the floor while the polish is still tacky, as this can leave permanent footprints. Place felt pads under furniture legs before moving items back into place. It’s best to avoid mopping or heavy cleaning for at least a week after polishing to allow the finish to fully harden.
To test if the floor is dry enough for foot traffic or replacing furniture, do the “thumbprint test.” Press your thumb lightly against the floor in an inconspicuous area. If it leaves an indentation, it’s not fully dry yet. Check again in a few hours. Once no thumbprint is left behind, the floor polish should be cured and ready for normal use.
With the proper product, technique, temperature, and patience, you’ll have a smooth, glossy floor finish. But remember, slower is better when it comes to drying and curing floor polish. It’s worth the wait to end up with results that look professional and last for years.
Factors That Impact Floor Polish Dry Times
When applying floor polish, how long it takes to dry depends on several factors. The product specifications will provide a general timeframe, but real-world conditions in your home can impact that.
Number of Coats
The more coats of polish you apply, the longer it will take to dry completely. Typically, 2-3 coats are recommended for the best results.
Allow at least 2-3 hours between coats, and consider doing the job over multiple days if time is limited. The final coat will take the longest to dry.
Temperature and Humidity
Warmer temperatures and lower humidity will speed up drying times. Colder weather and higher humidity can add hours to the process.
If possible, apply the polish in a well-ventilated room away from exterior doors. You may want to temporarily turn up the thermostat for faster drying.
Floor Material
The material and texture of your floors also play a role. Smooth, hard floors like vinyl, linoleum, and ceramic tile will dry faster than rough, porous surfaces such as concrete, stone, and wood.
Polishes designed for specific floor types tend to dry quicker as they are formulated for maximum adhesion and durability.
Air Flow
Good air circulation and ventilation are key. Run fans and open windows to keep the air moving, which will help evaporate the solvents in the polish.
Avoid walking on or replacing furniture and rugs over the floors during drying for the time recommended on the product label.
Additives
Some polishes contain wax, acrylics, or polyurethanes, which form a protective coating and increase gloss. Products with these additives typically require longer drying times of 6-12 hours. Water-based polishes without these additives tend to dry faster, within 3 to 6 hours.
The exact time for your floor polish to dry will depend on the specific product and conditions in your home. But following the tips here can help minimise waiting time so you can get back to enjoying your newly polished floors. Patience and proper ventilation are key!
Tips for Speeding Up the Drying Process
Want your freshly polished floors to dry faster? Here are a few tips to help speed up the drying time:
- Open windows and use fans to improve air circulation in the room. The more air movement, the quicker the polish will dry. Run an exhaust fan to ventilate and remove damp, stale air.
- Warm air causes polish to dry faster than cool air. Increase the thermostat setting in the room by a few degrees. The ideal temperature range is 65 to 80 F.
- Resist the urge to walk on the floors for at least 2 to 3 hours after polishing. Foot traffic can disrupt the drying polish and leave marks.
- Don’t place rugs, mats, or furniture over the floors until the polish is fully dry. Covering the floors will prevent proper ventilation and slow down drying.
- Choose a polish formula specifically designed for quick drying, such as a water-based urethane polish. Oil-based polishes typically take longer to dry completely. Check the product details to determine approximate drying times.
- Apply polish in thin, even coats instead of thick layers. Thinner coats dry faster than heavy, uneven coats. Allow each coat to dry as directed before applying additional coats.
- As hard as it is, be patient and avoid walking on or covering the floors for as long as possible after polishing. The drying time can vary depending on factors like temperature, humidity, ventilation, and the type of polish used. It’s best to wait at least 6 to 8 hours before light foot traffic and 24 hours for heavy traffic or replacing furniture. Your patience will pay off with a durable, high-gloss shine.
What to Expect with Different Floor Polish Types?
The type of floor polish you choose will determine how long it takes to dry and the final results. Here’s what to expect with the most common options:
Acrylic Sealers
Acrylic sealers, like acrylic urethane, provide a durable protective coating and high-gloss shine. They tend to dry within 2 to 3 hours but require 24 hours of curing time before light foot traffic and 72 hours before replacing furniture.
Acrylic sealers provide the hardest, most durable finish but also have strong fumes, so proper ventilation is important.
Water-Based Sealers
Water-based or latex floor sealers, like polyurethane, are popular because they’re low-odour, nontoxic, and clean up easily with water. They dry within 30 minutes to 2 hours but also require 24-48 hours of curing time for the best results.
Water-based sealers provide good protection and shine but may require more frequent buffing and recoating than acrylic sealers.
Oil-Modified Sealers
Oil-modified polyurethane floor sealers contain both urethane and oil, which helps enhance the natural wood grain while providing protection. They tend to dry within 6 to 8 hours and cure in 24-48 hours.
Oil-modified sealers provide a soft, natural-looking sheen and good durability. However, they have strong fumes, and the oil can slow down the drying time. Proper ventilation and limiting foot traffic during curing is important.
Waxes and Polishes
Floor waxes and polishes, like paste or liquid wax, provide a protective coating and shine but little durability. They tend to dry within 30 minutes to 2 hours but require buffing with a polisher pad to bring out the shine and provide even coverage.
Waxes and polishes need to be reapplied frequently, every few months to once a year. They provide the fastest solution but the least amount of protection compared to sealers.
FAQs
Do I need to sand the floors first?
Sanding the floors before polishing is highly recommended. Lightly sanding removes the top layer of the floor, smoothing the surface and providing a “tooth” for the new polish to adhere to. For heavily worn or damaged floors, more extensive sanding may be required. Sanding the floors also allows for any minor repairs to be made prior to polishing.
What happens if I walk on a freshly polished floor before it’s fully dry?
Walking on a freshly polished floor before it’s fully dry can compromise the finish and diminish the overall effectiveness of the polish. The drying time varies based on the type of floor polish used, but typically ranges from 30 minutes to a few hours. Foot traffic before fully drying may lead to smudges, imprints, or uneven drying, affecting the final output. To ensure optimal results, follow the recommended drying time specified by the product manufacturer or polishing professional.
How many coats of polish should I apply?
For most DIY floor polishing projects, applying 2 to 3 coats of polyurethane floor finish is typical. The first coat seals the wood, the second coat provides protection, and the third coat gives an ultra-smooth, glossy finish. Be sure to lightly sand in between coats with fine-grit sandpaper and tack cloth the dust away. Applying additional coats beyond 3 is usually unnecessary for residential floors and can result in a plastic-like appearance.
Conclusion
So, there you have it. The drying time for floor polish can vary quite a bit depending on the product, application method, temperature, humidity, and other environmental factors. But in general, you can expect most floor polish to dry to the touch in about 30 minutes to a few hours.
Just remember to follow the manufacturer’s instructions for best results. And be sure to allow for plenty of drying time before walking on the floors or replacing furniture to prevent damage.
With a little planning, you’ll have shiny, polished floors that look fantastic in no time.
For expert residential floor sanding and polishing in Melbourne, you can trust Total Floor Sanding And Polishing, as we have been the industry leaders for years. No matter the type and condition of your floor, we can tackle any challenge and achieve the desired results. Get in touch with our team today and see how the right professional can make a difference!

