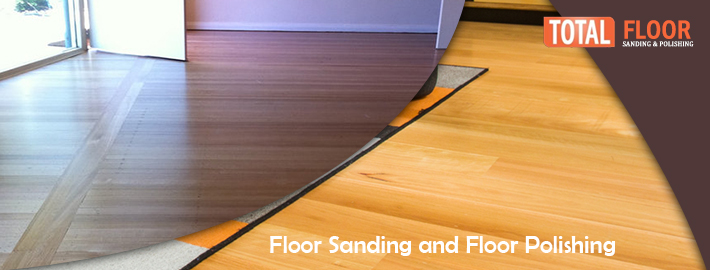
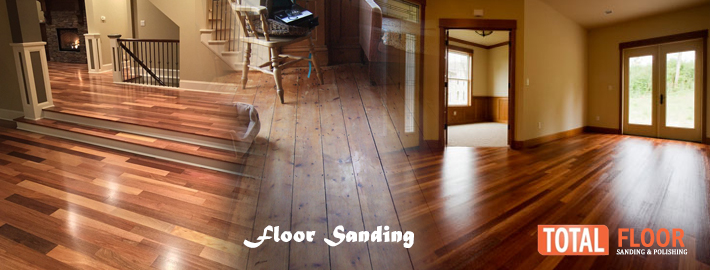
If you’ve ever wondered how to transform old, worn-out wooden floors into beautiful, gleaming surfaces, you’re in the right place! Floorboard sanding is the secret behind achieving that flawless finish.
Sanding may sound like a daunting task, but with the right knowledge of floor sanding Geelong and a bit of patience, you can breathe new life into your floors and create a stunning home environment.
In this blog post, we will share some expert tips for a flawless floorboard sanding experience. So, let’s dive into the world of floorboard sanding and discover the simple steps to make your floors shine like never before!
Understanding the Importance of Sanding Floorboards
Sanding floorboards is a crucial step in floorboard restoration. It helps remove imperfections, such as scratches, stains, and unevenness. Additionally, sanding provides a smooth and clean surface, making it easier to apply finishes or coatings, such as varnish or paint. Sanding is a key step in restoring wooden floorboards, smoothing out imperfections and preparing the surface for a fresh, beautiful finish. Before you begin sanding, ensure you have the necessary tools, including a belt sander, sandpaper, safety goggles, and a dust mask.
Preparing the Floorboards for Sanding
To ensure a successful floor sanding Geelong experience, proper preparation is key. Start by removing any furniture or objects from the room. Next, thoroughly clean the floorboards by sweeping and vacuuming to eliminate loose dirt and debris. This step prevents the sandpaper from getting clogged and ensures a more efficient sanding process.
Choosing the Right Sandpaper Grit
Selecting the appropriate sandpaper grit is vital to achieve the desired results. Start with a low grit, such as 60, for initial sanding to remove heavy imperfections or old finishes. Gradually progress to higher grits, such as 100 or 120, for a smoother finish. Finally, use a fine grit, like 240, for the final sanding stage before applying any finishes. Remember to change the sandpaper regularly to maintain its effectiveness.
Mastering the belt sander technique
When sanding floorboards, using a belt sander can significantly expedite the process. Begin in one corner of the room and move the sander smoothly along the grain of the floorboards. Avoid lingering in one area for too long to prevent uneven sanding or the creation of divots. Maintain a steady pace and overlap each passes slightly for consistent results throughout the room. Sanding floorboards with a belt sander can help you achieve a smooth and even surface, making your floors look brand new.
Sanding old floor boards with Care
Old floorboards may require extra attention during the sanding process. Ensure the belt sander is set to a lower speed to prevent excessive removal of the wood, especially if the floorboards are thin or delicate. Be patient and take your time to achieve an even and uniform finish. Remember to keep the sander moving constantly to avoid any damage to the wood.
Dustless sanding for a Cleaner Environment
Sanding can generate a significant amount of dust, which is not only messy but also harmful to your health. To minimise dust, consider using a sander equipped with a dust collection bag or connect it to a vacuum cleaner. Wearing a dust mask and safety goggles is also essential. By opting for a dustless sanding method, such as using a belt sander with a vacuum attachment, you can ensure a cleaner and healthier working environment.
Completing the Sanding Process and Post-Cleaning
Once you have completed sanding all the floorboards, it’s time to clean up. Use a vacuum or a broom to remove any remaining dust. Follow this by wiping the floor surface with a damp cloth to get rid of any residual particles. Now that your floorboards are sanded and clean, you can proceed with applying your preferred finish, whether it’s varnish, paint, or other floor coatings.
Wrap Up for a Picture-Perfect Finish
In conclusion, sanding floorboards is a critical step when restoring or revamping wooden floorboards. By following these expert tips, you can achieve a flawless sanding experience. Remember to prepare the floorboards adequately, choose the right sandpaper grit, master the belt sander technique, and prioritise cleanliness during the process.
With these sanding tips in mind, you’ll be well on your way to creating a beautifully restored floorboard surface for your home.
Remember, a floor sanding Geelong process can add value and aesthetics to your space, making it an essential aspect of vacate cleaning or any home improvement project.
If you want your floorboards to shine with the utmost brilliance, trust Total Floor Sanding And Polishing to bring them back to life.
Your dream floors are just a call away!


