Have you ever wondered why some floors never seem to lose their shine, even when they get old? It’s not always about replacing them. Nope.
Then what’s the secret? Many folks, maybe even your neighbours, are giving their floors a makeover with machine magic.
They’re either getting down to business with a drum floor sander themselves or calling for professional timber floor sanding in Melbourne to restore that lost lustre.
So, if the world of drum sanders is new to you, you’re in the right spot.
This guide is packed with all you need to know. Stick with us from start to finish, and discover your neighbour’s floor sanding techniques to keep floors looking fabulous.
Let’s dive in and get your dull floors shining like new again.
The Basics of Drum Sanders
Starting your wood floor refinishing project means familiarising yourself with the tools of the trade, specifically the drum sander.
This heavyweight is a game-changer in effectively stripping old finishes and smoothing out your floors. However, understanding its basics is key to achieving that flawless finish.
What is a Drum Sander?
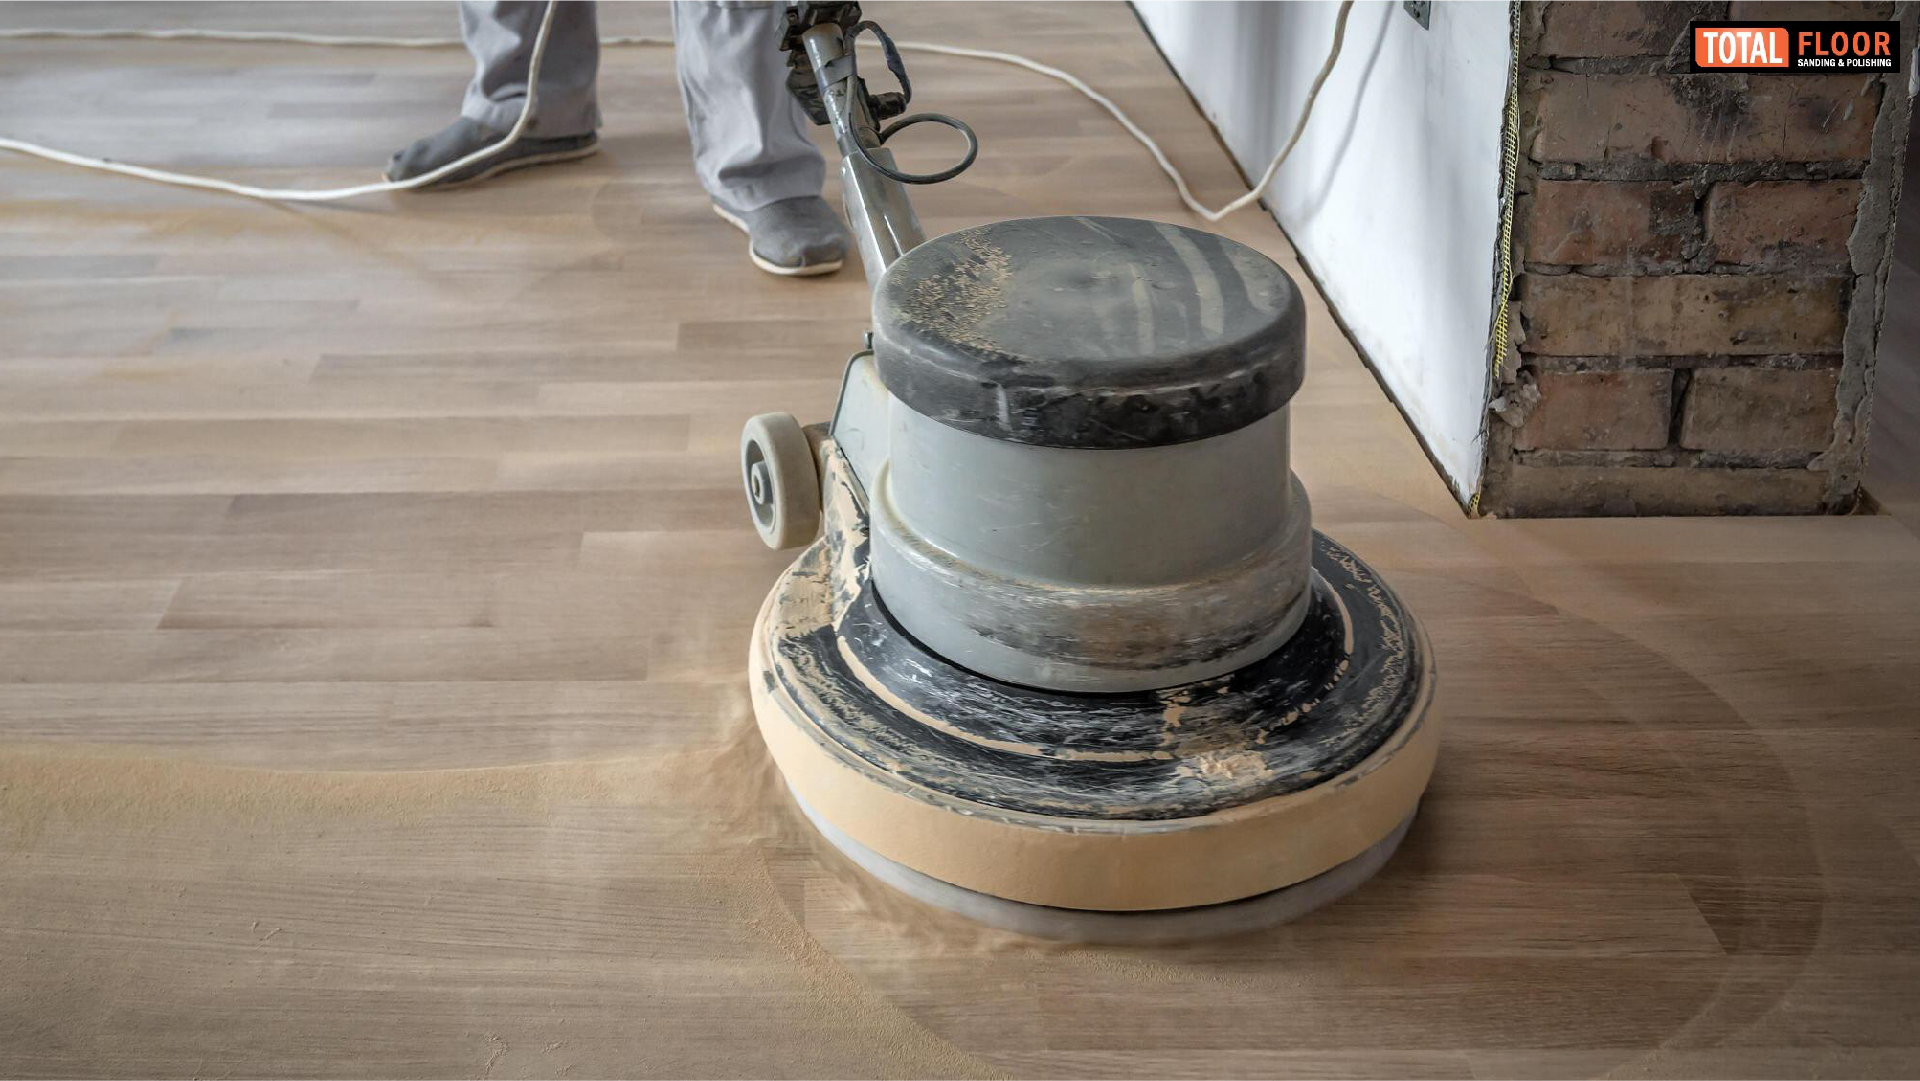
A drum sander rotates a cylindrical drum covered in sandpaper across your wood floor. Its robust design makes it the go-to machine for quickly removing old paint, stains, and imperfections.
Unlike orbital sanders that use a vibrating motion, drum sanders rely on their weight and the abrasive action of spinning sandpaper to do the job efficiently.
This device is crucial for heavy-duty sanding and is a professional’s choice for preparing wood flooring for refinishing.
Types of Drum Sanders
Drum sanders come in various sizes and configurations to cater to different flooring projects. The primary types include:
– Stand-up drum sanders: Ideal for large, open areas, these sanders require the operator to stand and control the machine as it moves across the floor.
– Handheld drum sanders: Perfect for tackling tight spaces, corners, and stairs, these smaller devices provide flexibility but require more elbow grease.
Knowing which type of drum floor sander to use is essential for efficiently addressing the specific needs of your sanding project.
Preparing for Sanding
Proper preparation is crucial for a successful outcome before the actual timber floor sanding in Melbourne begins. Skipping these preliminary steps might result in uneven surfaces or even damage to your wood flooring.
- Clearing the Space
Ensuring a clear workspace is step one. This means removing all furniture, rugs, and detachable fixtures from the room.
Also, take this opportunity to check for and remove any protruding nails or staples on the floor that could damage the sander. Adequately preparing the space will make the sanding process smoother and faster.
- Inspecting the Floor
Before sanding, carefully inspect your floor for any significant damage—deep scratches, gaps between boards, or warped sections.
Identifying these issues early can help you adjust your sanding technique or determine if certain areas need more attention or repair before you start.
- Selecting the Right Sandpaper
Choosing the correct sandpaper grit is crucial for getting the desired finish on your wood flooring.
The process typically starts with a coarse grit to remove the old finish and major imperfections, followed by progressively finer grits to smooth the surface.
Here’s a general guide:
– Start with 36 or 40 grit for initial passes to strip away the old finish and smooth out major blemishes.
– Move to 60 or 80 grit to start the smoothing process, removing the scratches left by the coarser paper.
– Finish with 100 or 120 grit for a smooth surface ready for staining or sealing.
Skipping grits or not spending enough time with each can lead to scratches and uneven finishes, so patience and attention to detail are key.
Sanding Techniques
Refinishing wood floors is no small task, but with the right techniques and know-how, you can achieve that silky smooth finish that rivals professional work.
Below are some expert strategies for using a drum sander efficiently and effectively on your flooring project.
Technique 1: Setting up the drum sander correctly
Before diving into the task, setting up your drum sander properly is crucial.
Ensure it’s correctly assembled according to the manufacturer’s guidelines. Remember to adjust the drum sander so that it sits flat against the floor; this helps prevent unnecessary gouges or uneven sanding.
It’s also important to check the bag that collects the sawdust to ensure it’s properly attached and not overloaded. This helps you maintain a clean workspace and prevents dust from spreading everywhere.
Technique 2: Choosing the right sandpaper grit for different floor types
Selecting the appropriate sandpaper grit is essential for achieving the desired finish. Start with coarser grits (around 40-60) for removing old finishes or heavy damage, then gradually work your way up to finer grits (80-120) for smoothing the floor.
The type of wood also dictates the grit you should use; softer woods may require finer grits to avoid unnecessary damage, while harder woods can withstand coarser grits.
Technique 3: Handling the drum sander with proper technique and posture
Using a drum sander requires attention to detail and proper body mechanics. Always keep the sander moving to avoid sanding one spot excessively, which can lead to divots or uneven surfaces.
Your posture is also pivotal. Keep your back straight and move with the sander, applying even pressure but letting the machine do most of the work. This helps you maintain control and reduce the risk of mistakes.
Technique 4: Managing transitions between passes for uniform results
When sanding your floor, it’s crucial to overlap your passes slightly. This technique ensures that you don’t leave unsanded spaces that can show up as stripes once the finish is applied.
Aim for an overlap of about one-third of the sander’s width on each pass. Keeping a steady pace is also important to avoid patches that appear more polished than others.
Technique 5: Dealing with challenging areas such as corners and edges
Corners and edges pose a challenge since the drum sander can’t reach these areas. Tackling these spots requires a hand sander or an edging sander – a more compact tool specially designed for this purpose.
When working on corners and edges, it’s best to use the same grit progression as you did for the main floor area to ensure consistency in the finish.
Troubleshooting Common Issues
Despite your best efforts, you might encounter a few snags along the way. Here are some common issues and how to address them.
Uneven Sanding
If you notice uneven areas after sanding, it likely means the sander wasn’t kept moving consistently, or the correct grit progression wasn’t followed. Revisit these areas with finer grit until the floor feels uniformly smooth to the touch.
Gouges and Scratches
Gouges and scratches are often the result of incorrect sandpaper grit or mishandling of the drum sander. To fix this, go back with a finer grit sandpaper and sand the area delicately until the scratches are no longer visible.
Dust Control
Excessive dust can be a significant issue when sanding floors. Ensure the dust bag on your drum sander is securely attached and emptied regularly. Additionally, using a dust mask and ensuring good ventilation in the working area can help manage dust effectively and maintain a healthier work environment.
Wrapping Up
So, there you have it. By following the expert techniques we’ve discussed, from preparing your space and choosing the right sandpaper grit, you’ll be well on your way to achieving a beautifully smooth, professional-looking wood floor.
Remember, the key is to go slow, maintain constant movement, and pay close attention to the floor’s condition as you progress.
Rushing or skipping steps can lead to uneven finishes or damage, which can be harder to rectify.
With patience, practice, and a bit of effort, you’ll find that sanding your floors with a drum sander enhances the beauty of your home and gives you a deep sense of accomplishment.
If you don’t want to risk it with a machine, no worries! You can hire professionals.
Total Floor Sanding and Polishing is a leading provider of timber floor sanding in Melbourne for turning old floors into new ones.
We are dedicated to achieving professional results for your floors. So, what are you waiting for? A beautifully polished floor is just a click or call away.

