When it comes to enhancing the aesthetics and value of your home, timber floor installation Melbourne stands out as a popular and timeless choice. Timber floors exude warmth, elegance, and durability, making them a fantastic addition to any living space. However, before you embark on the exciting journey of installing timber floors, it’s crucial to understand the proper preparation and installation process to ensure a flawless outcome.
This expert guide walks you through the essential steps and considerations for a successful timber floor installation.
Selecting the Right Timber
The first step in your timber floor installation Melbourne journey is selecting the right type of Timber. Consider the look you want to achieve, the level of foot traffic, and your budget. Different timber species have unique characteristics, so choose one that complements your interior design and lifestyle.
Acclimatize or Adapt the Timber
Before starting the installation, ensure that the Timber is acclimatized to the environment in which it will be laid. Keep the Timber in the space for at least 72 hours so that it may acclimatise to the humidity and temperature levels. This helps prevent any future warping or buckling of the floorboards.
Prepare the Subfloor
The subfloor must be clean, dry, and level because it serves as the base for your wood floor. Remove debris, nails, or adhesives from the subfloor and check for irregularities. Sand down high spots and use a levelling compound to fill in low spots. A well-prepared subfloor ensures a smooth and even surface for timber installation.

Moisture Barrier Installation
Moisture can be the enemy of timber floors, leading to damage and decay. To protect your investment, install a moisture barrier, especially if you’re laying the timber floor on a concrete subfloor. This barrier prevents moisture from seeping up and causing issues with your Timber.
Decide on Installation Method
There are three common methods for timber floor installation: nail-down, glue-down, and floating. Nail-down involves nailing the floorboards to the subfloor, while glue-down uses adhesive to secure the floorboards. Floating involves connecting the floorboards without direct attachment to the subfloor. Choose the method that best suits your timber type and subfloor.
Careful Installation Process
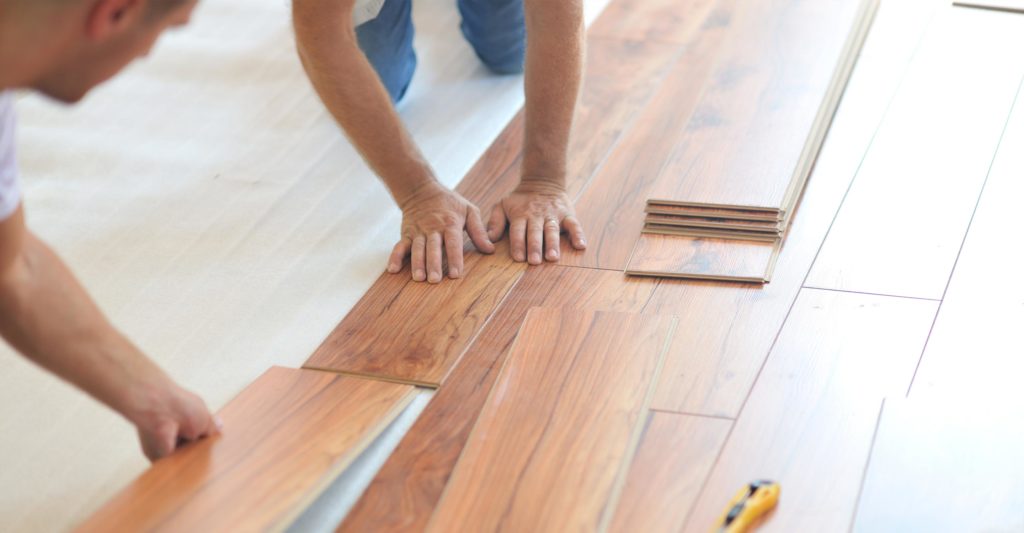
When installing the timber floor, pay attention to the direction of the floorboards and maintain consistent spacing between them. Use spaces to achieve an even gap, allowing the wood to expand and contract naturally. Work methodically, row by row, to ensure a seamless finish.
Sanding and Finishing
After the floorboards are installed, sanding is essential to create a smooth surface. Additionally, sanding helps to eliminate flaws and guarantees that the finish will adhere properly. Choose a suitable finish for your timber floor, such as polyurethane or natural oils, to protect the Timber and enhance its natural beauty
Regular Maintenance
Once your timber floor is installed and finished, regular maintenance is vital to preserving its beauty and durability. Regularly sweep or vacuum the floor to get rid of dirt and trash. Avoid using harsh chemicals or excessive water during cleaning, as these can damage the Timber’s finish.
Conclusion
Timber floor installation is a rewarding process that adds value and charm to your home. Following this expert guide, you can achieve a successful timber floor installation Melbourne that will stand the test of time. From selecting the right Timber and preparing the subfloor to careful installation and proper maintenance, each step plays a crucial role in the longevity and beauty of your timber floors.
So, get ready to enjoy the elegance and warmth of your stunning timber floors for many years with Total Floor Sanding and Polishing. Experience top-notch craftsmanship and elegance for your space. Contact us today for a stunning floor makeover!


